 Starting something new can be scary & intimidating. If you don’t know what’s going on or don’t understand what an instructor is referring to, you may not be back for a second class. Sound about right? That’s why we want to break down a Pilates class for you, term by term, motion by motion, etc.
Let’s start Pilates 101! How’d it get started?
In the 1920s a man by the name of Joseph Pilates created the Pilates method. He originally created the exercise form for injured soldiers to be able to do in their hospital beds. Since then, it has grown into a fairy common fitness system with studios popping up all across the globe and also being incorporated in some physical therapy clinics.
Most people think of Pilates and immediately relate it to dancers, however that’s not the case anymore! Professional basketball, football and baseball players have all learned to embrace the Pilates method for strengthening, flexibility, balance and rehabilitation.
What is Pilates?
Pilates is an exercise method that focuses on building strength, elongating muscles, and improving flexibility & balance. It stimulates and engages the body and mind all at the same time. The movements of Pilates are all meant to be low-impact, utilizing one’s body weight instead of heavy equipment to change the body. Every Pilates movement begins with engaging the core and ensuring that the body is in proper postural alignment.
What are those machines they use in Pilates?
 Good question! They can look intimidating if you have no clue how to use them (somewhat torture-like). Depending on what studio you go into, you may run into a few different machines. The ones we use at Spine & Sport Physical Therapy’s Rancho Santa Margarita location include the reformer and combo chair (probably the most common ones, too!).
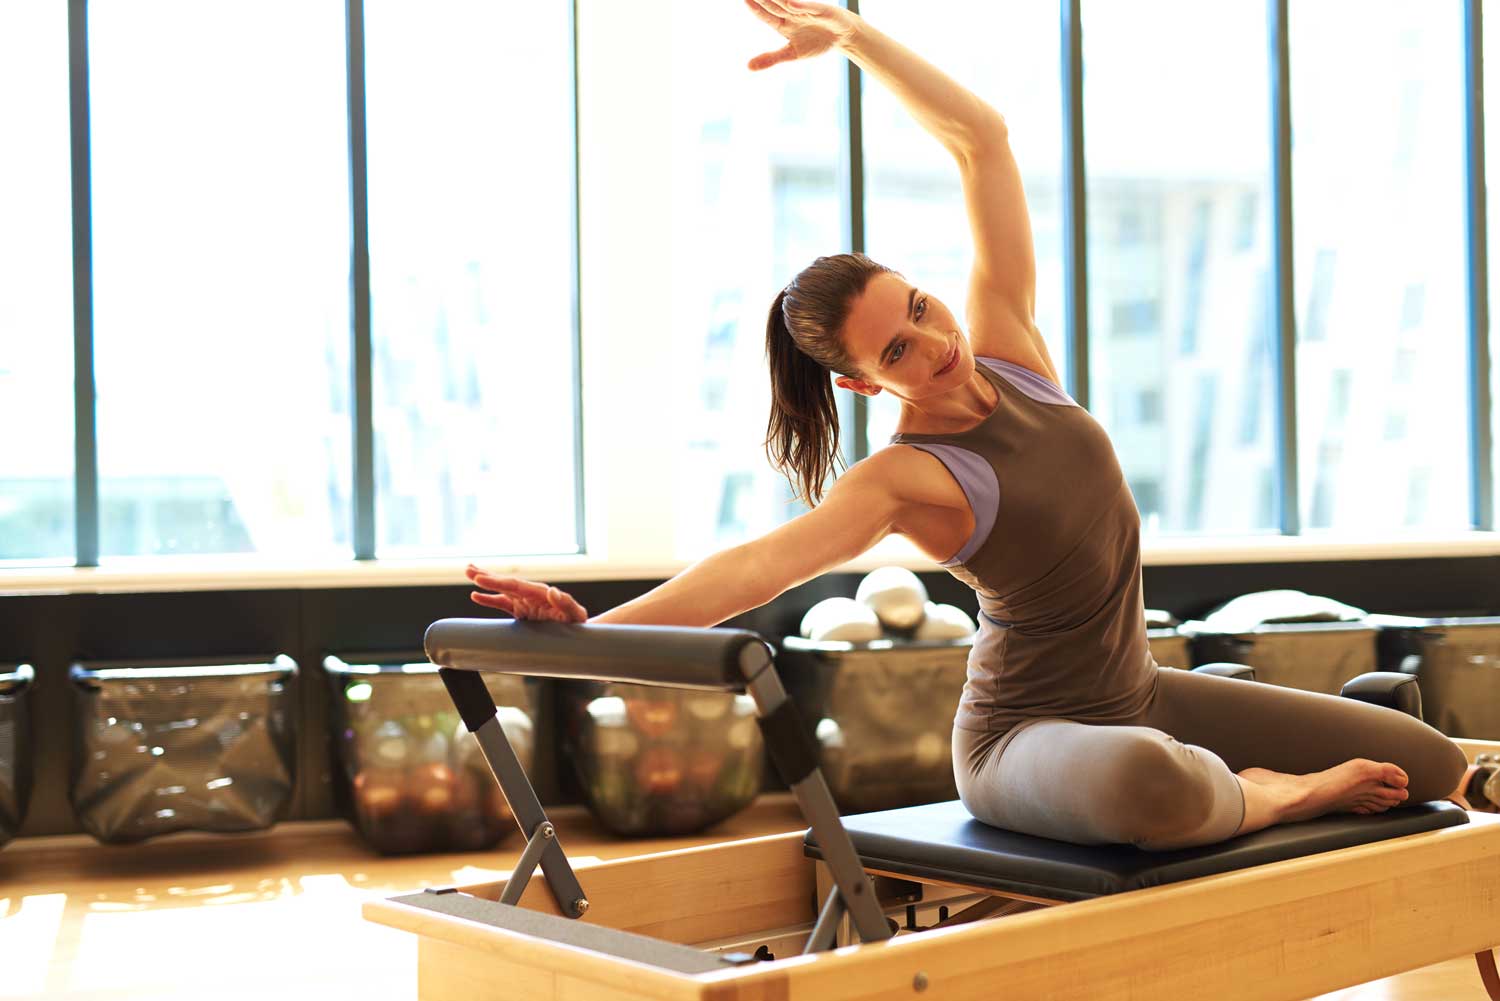
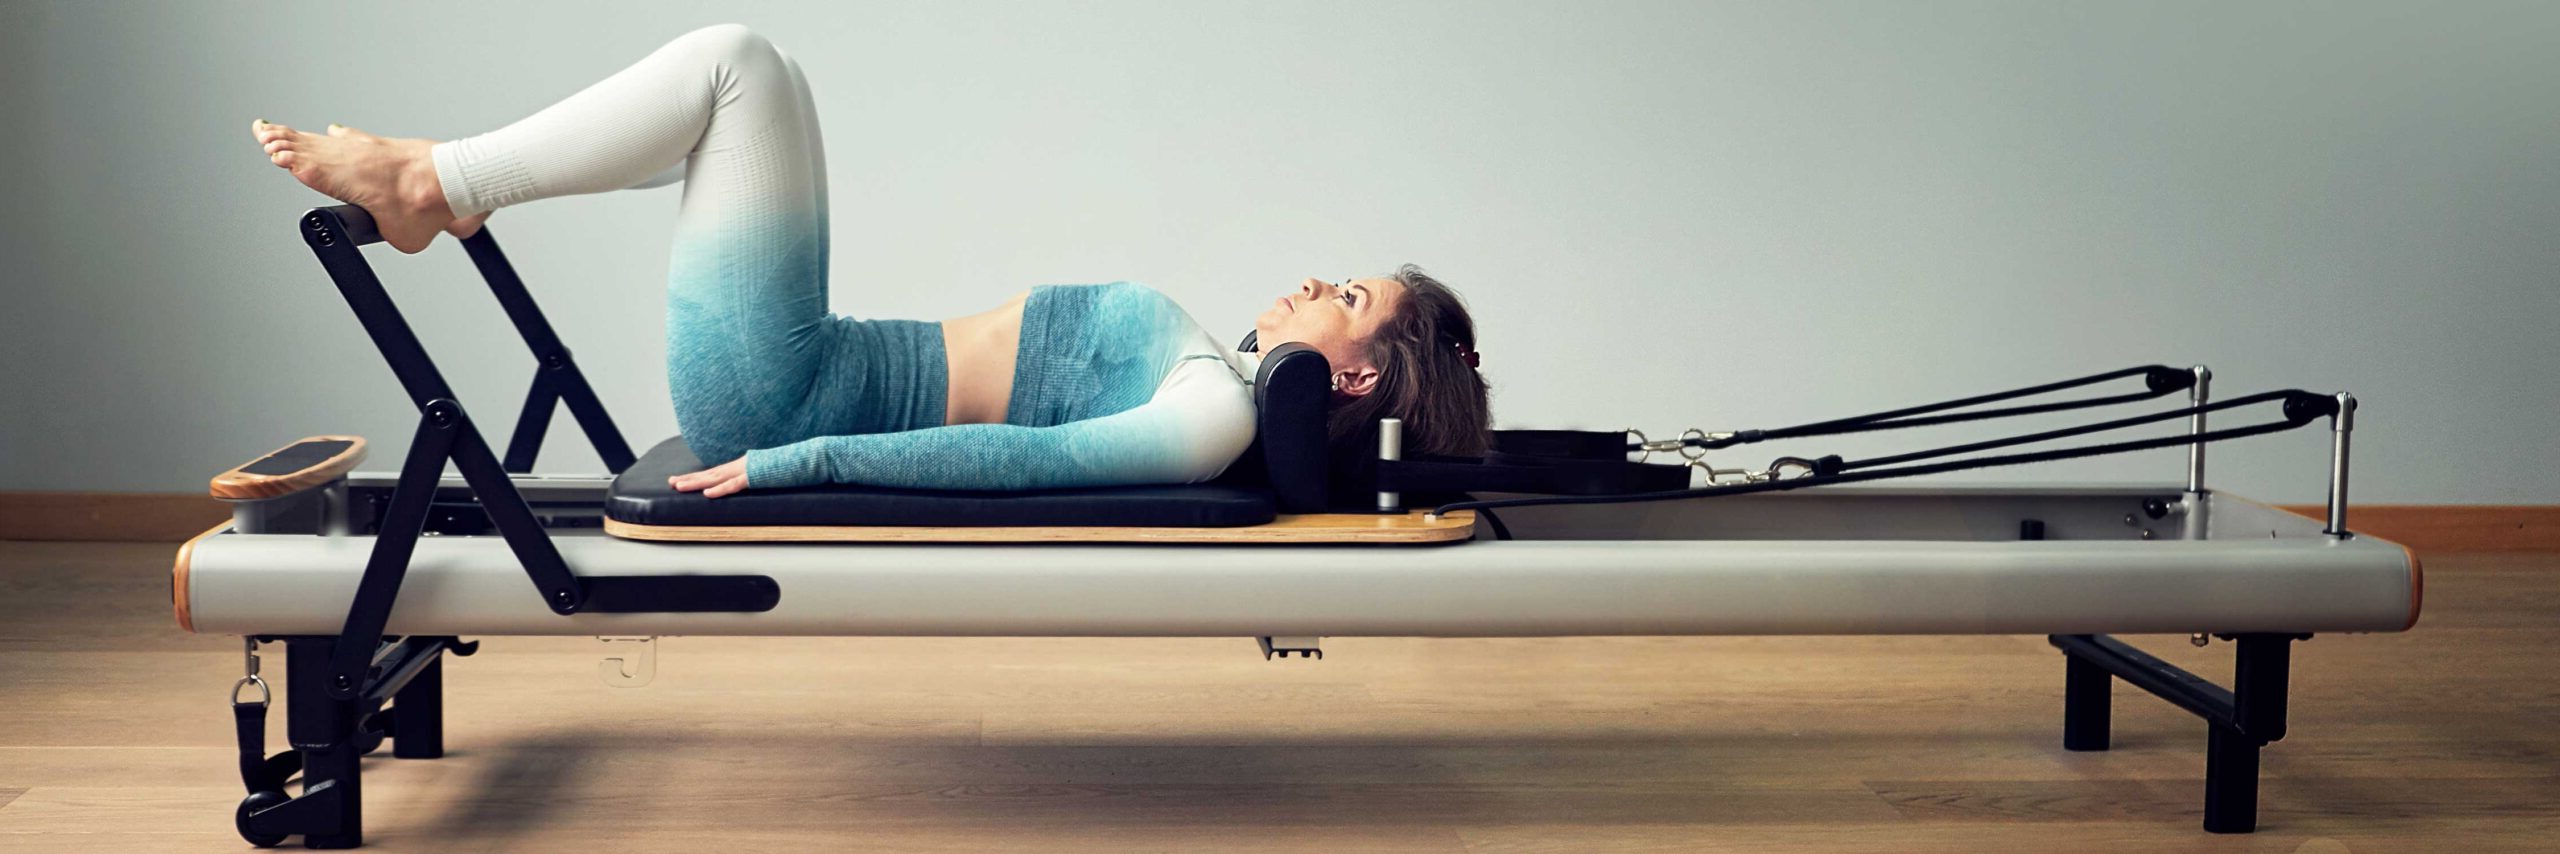
The Reformer. Pictured above, this is a piece of equipment that looks like an uncomfortable bed with some sort of bar at the end. That’s the Reformer!
Think of the reformer as you would a squat rack, leg press and every other piece of equipment you would find at your local gym – combined! However, with the Pilates Reformer, you get to exercise the whole body lying down (mostly). The springs that are typically red, yellow, green and blue will serve as your resistance through your workout. Without getting too technical, some springs are heavier than others and will create a greater amount of resistance than another colored spring. The instructors should be able to guide you with how many springs and of what color to put on for every exercise you do.
The combo chair. It’s that piece of equipment that is chair-like that has no back to it, but looks to have a pedal for your feet and may have two silver poles with handles on it sticking out. That’s the combo chair!
This piece of Pilates equipment is typically used a lot less often than the Reformer, but some instructors like to add on a few exercises using the combo chair. Many of the same exercises that are done on the Reformer can also be done on the combo chair – it’s really just a matter of preference. Similar to the reformer, there are springs that act as your resistance for your workout, but these springs are all the same color. Depending on what notch the spring is attached to will determine how light or heavy the resistance becomes. Again, your instructor should be able to select the right springs for you for each exercise.
What are Pilates 101 terms I should know before I begin?
That’s a really good question. We will outline the terms that we use most often, however there may be some slight differences from studio to studio.
- Roll-down. At the beginning and end of class, you will most often start with a roll-down. Your feet should be parallel and hip-width apartment. You will tuck your chin into your chest and continue to bend forward from the hips until you feel a stretch in your hamstrings. Your hands will be reaching for the floor and your instructor will tell you to roll down vertebrae by vertebrae (they want you to try and isolate the motion by slowly rolling down, thinking of each of your back’s vertebrae rolling forward one at a time.
- Neutral pelvis. The natural alignment of your pelvis; not tucked, not arched nor tilted to either side. Many instructors will refer to your hip bones as headlights, and in order to get you into neutral pelvis position will tell you to make sure your headlights are level (not tilting in any way but straight up).
- Neutral spine. The natural alignment of your spine, curves and all!
- Table top. Your legs are bent at a 90 degree angle while lying down. If you were to place a ball on your shins, it would not move. You should be able to see your toes over your knees.
- Straps. When on the Reformer, the straps are the two cords that appear behind your head. You will take the handles off of the pegs to either side of your head and place the straps either around your feet or grip them with your hands.
- Foot bar. When looking at the Reformer, it’s the black bar at the end that has some padding around it. It’s pretty simple really – the foot bar is where your feet go!
- 100s. When doing the ab segment of your workout, your instructor may lead you through 100s. You will do a crunch, pelvis still in neutral, and hold the position. With your arms outstretched to either side of your legs reaching towards your toes, begin to pump your arms up and down. You will be told to inhale for 4 seconds and exhale for 4 seconds until you reach 100.
- Teaser. This is one of the more difficult positions in Pilates. As you are sitting on the Reformer, box or mat, you create a “V” with your body. Your torso will be in a typical sit up position with your legs reaching toward the ceiling.
- Cat/Cow. This is a form of stretching. When on all fours for the cat, you will arch your back toward the ceiling like a cat does when it stretches. For the cow, you will allow your stomach to fall lower to the floor.
- Imprint. Typically when your legs are in table top position, your instructor will ask you to imprint your spine. This simply means to flatten your back to the Reformer as opposed to keeping it in neutral position. Imprinting your spine helps to protect your spine in more difficult positions.
- Magic circle. Everyone’s worst enemy! Typically black, the magic circle is a piece of equipment shaped as a circle with the pads on either side.
- Long box/short box. Typically at the end of the Reformer there is a big, black box with handles on either side. When asked to put long box on the Reformer, you will place the short-ends of the box closest toward the head rest and foot bar. When asked to put short box on, you will put the long side of the box to the head rest and foot bar.
- Pilates “V”. Some people know the Pilates V as first position. Your heels are together but your toes are pointed in the opposite direction creating a V.
What should you wear to Pilates?
What is it that you typically wear to the gym or yoga class? When attending a Pilates class, most people wear yoga pants, a workout top and maybe some ToeSox. You will quickly discover you either love or hate ToeSox. They are sticky on the bottom so you don’t slip and slide during your workout. However, some people find that they slip more or don’t like having their feet in socks for their workout. It’s really a matter of preference!
Who can do Pilates?
The real question is who CAN’T do Pilates? Pilates is one of the only forms of exercise that we would recommend for nearly every age group. Because the workouts are low intensity, they are easy on your joints so those who have suffered an injury or those who are aging will love that Pilates gets them moving again. Pilates is also a great addition for athletes – improves your balance, flexibility and strength!